


Sign up
When you first access the ChrysaLabs app, you’ll see several login options. At the bottom of the screen, select ‘Sign up’ to begin creating your account.

When you first access the ChrysaLabs app, you’ll see several login options. At the bottom of the screen, select ‘Sign up’ to begin creating your account.

Enter your email address and create a password. Alternatively, you can sign up using your Apple ID or Google account. Each member of your organization should have their own account and login credentials.
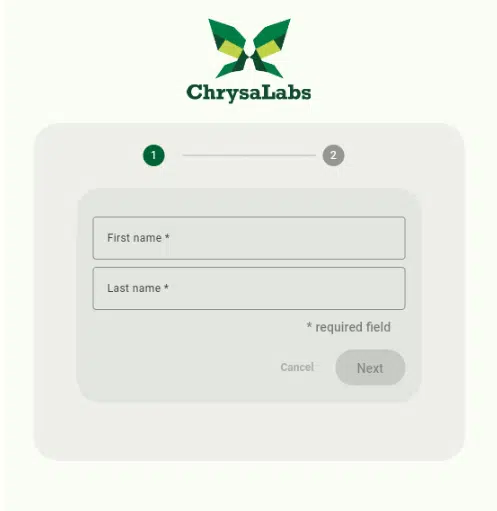
A verification email will be sent to the address provided. Click on the link in the email to verify your address. You’ll then be asked to enter your name and choose your language preference.
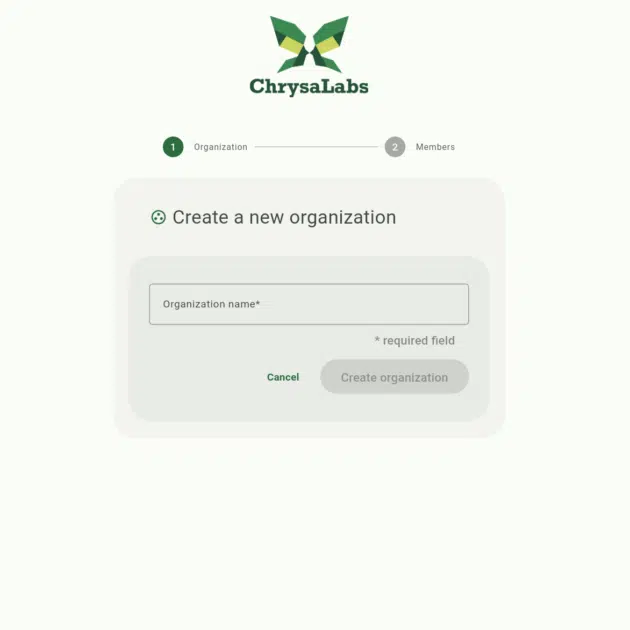
If you’re the first member of your organization to create an account, select ‘Create a new organization’ and enter the name of your farm or company. You will have the option to invite new members to the organization, but you can always do this later through the app.
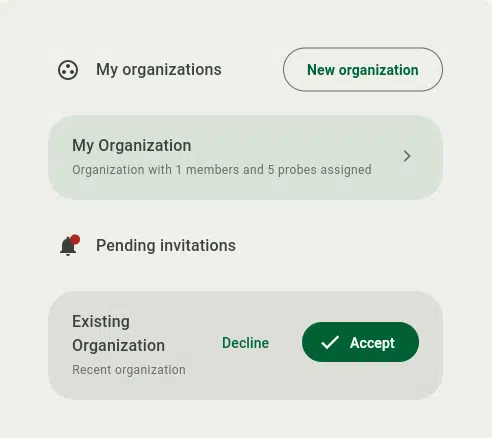
If your organization has already been set up in the ChrysaLabs app, ask the account holder to send you an invitation by inputting your email address in the 'Members' section. Your invitation will be displayed in the app with an option to accept it.
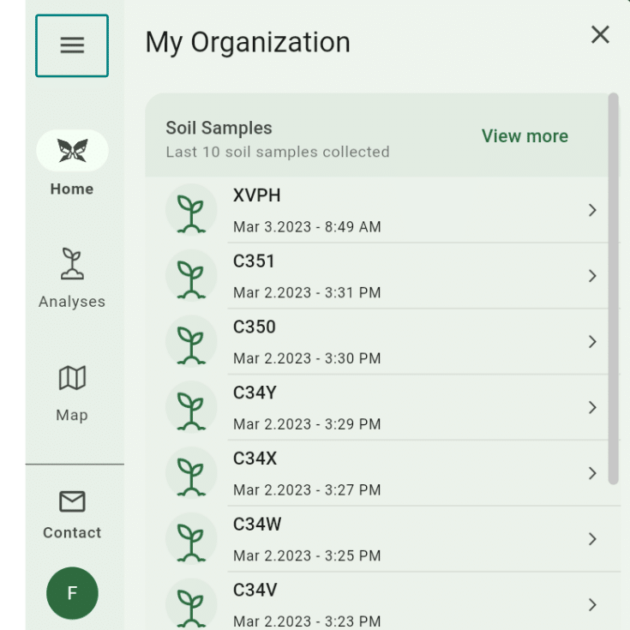
Select the icon with three lines in the top left corner to reveal your account information.
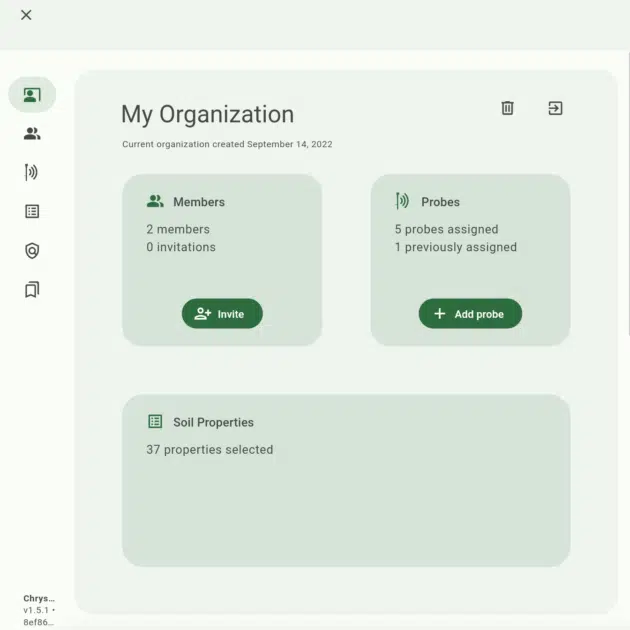
The general page gives an overview of your organization(s) and its members and probes. It also shows the number of soil properties selected for default display.
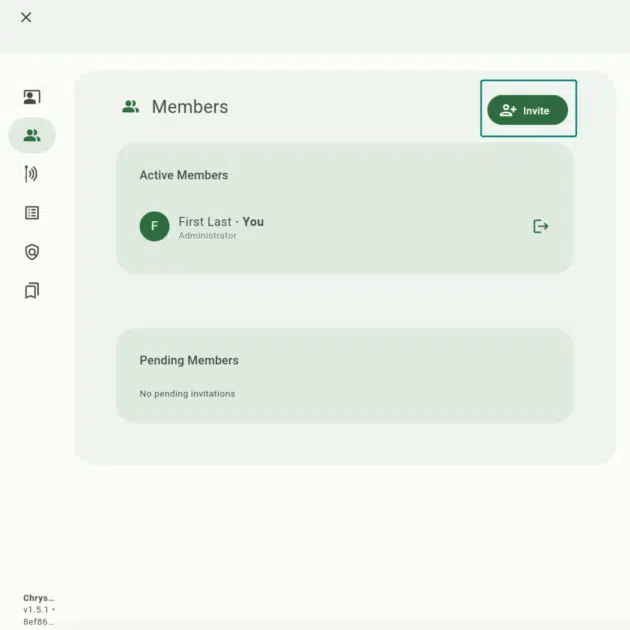
All active and pending members of your organization are displayed. To add a member, click ‘Invite’ and input the user's email address. If the user has already made an account with ChrysaLabs, make sure to use the email address that is already registered.
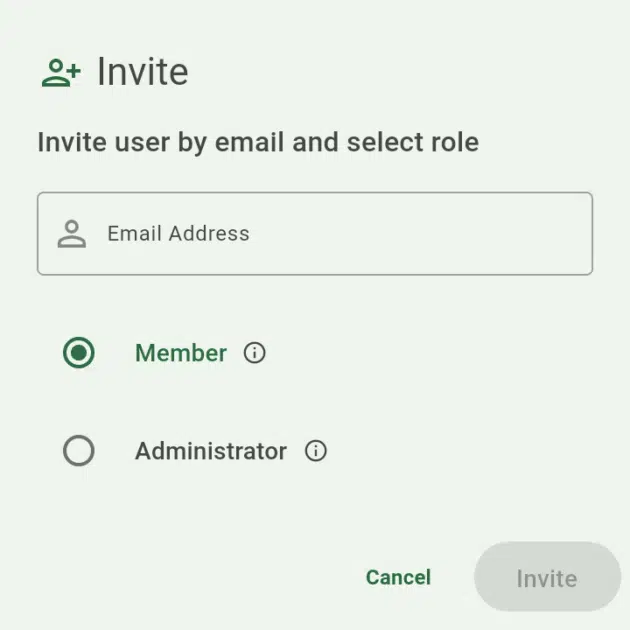
New users can be given ‘Member’ or ‘Administrator’ access. All users can access and export soil data, but only Administrators can delete data, invite new members, or delete the organization.
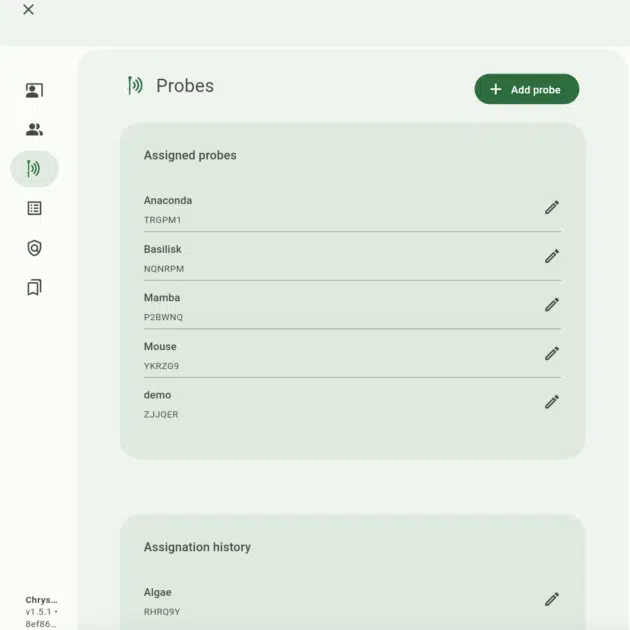
Active probes are visible under ‘Assigned probes.’ To link a new probe with your organization, select ‘Add probe’ and input the 6 digit probe tag found on the bottom of your probe near the charging port.
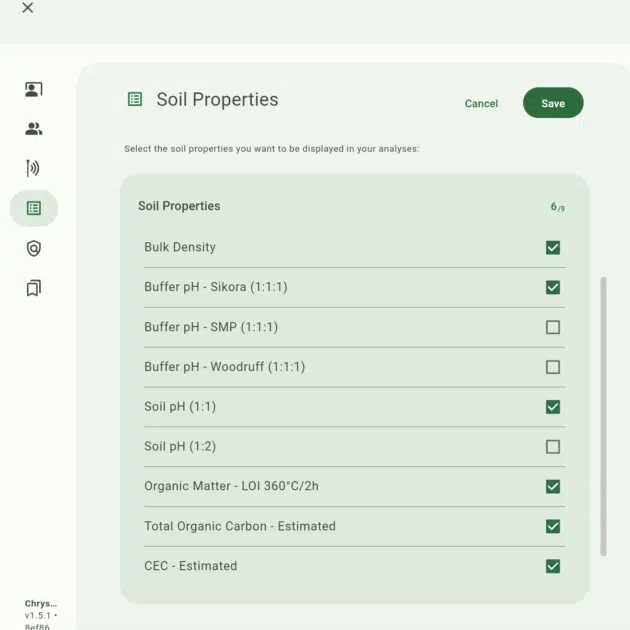
The parameters measured by the probe are grouped by category: Atmospheric Properties, Soil Properties, and Nutrients. By default, all parameters will appear. To hide a property, deselect it by clicking the green checkbox next to its name. This will not delete any data.
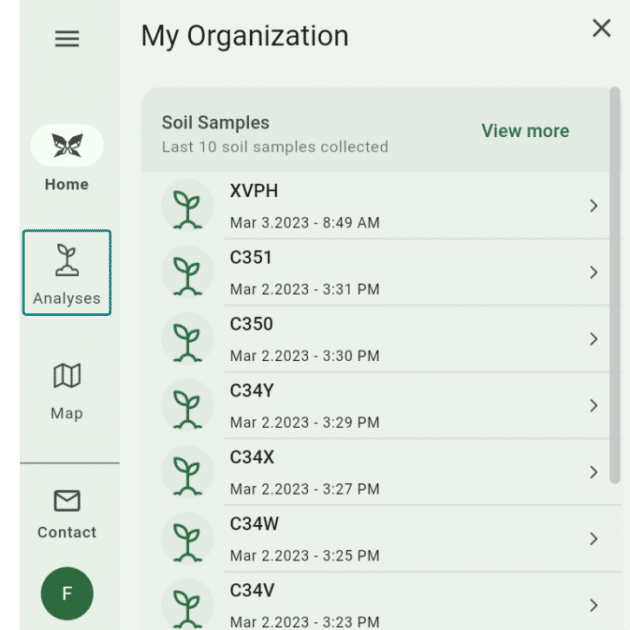
The app’s homepage displays the 10 most recent samples collected by your organization. To view additional samples, select the ‘Analyses’ button on the left-hand side of the screen.
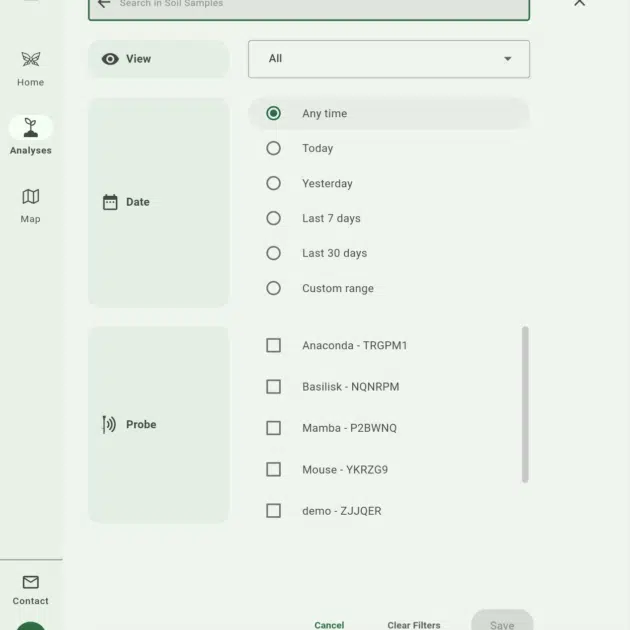
To filter the samples displayed, click on the icon with the three sliding bars. You can then select a single probe, day, or date range to view the desired samples.
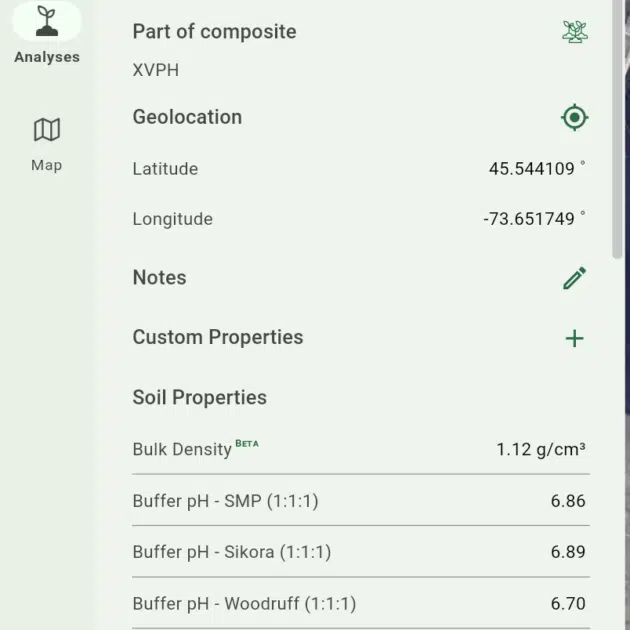
To view soil data for a sample, select its tag on the list or its location on the map. The option to add notes or custom properties for the sample is found underneath its geolocation information. You can also delete the sample by scrolling to the bottom of the screen and selecting ‘Delete Sample.’
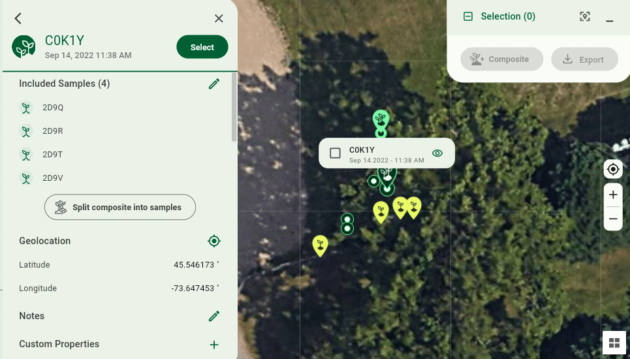
Clicking on a sample or composite on the map will also display its data. The selection pane in the right-hand corner allows you to create a composite or export the selected samples.
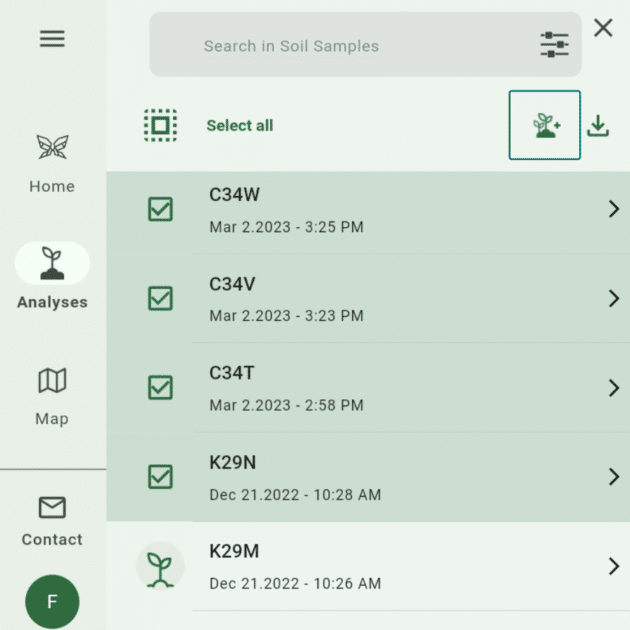
Composite samples can be created to aggregate data from several individual samples. To create a composite in the app, select the individual samples by checking the box next to the sample tag. Once all desired samples are selected, click the icon shown to create the composite.
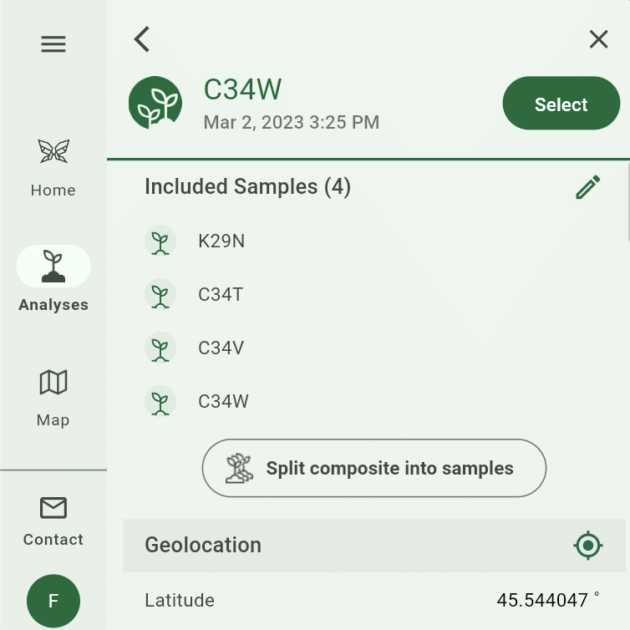
The composite will take the name of the most recent individual sample collected in the group. Once the composite is created, its data can be viewed just like that of an individual sample. The tags of the individual samples are listed at the top of the page. You can separate the composite using the ‘Split composite into samples’ button.
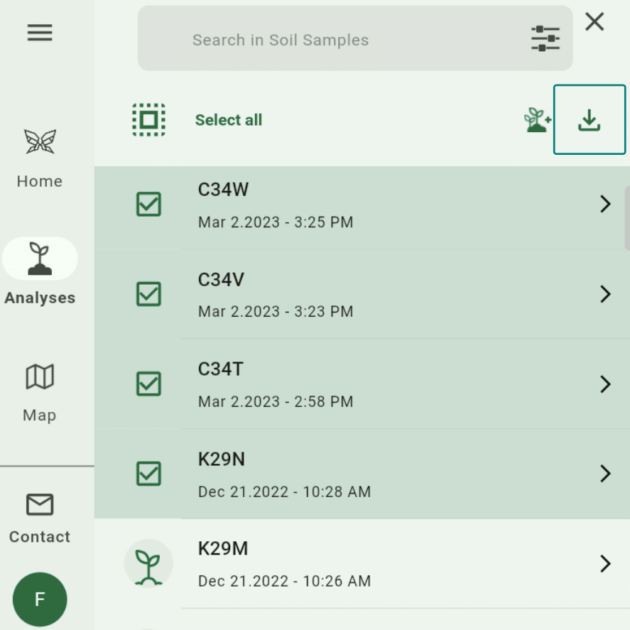
To export soil data, select the desired samples and/or composites from the list and click the ‘Export’ button.
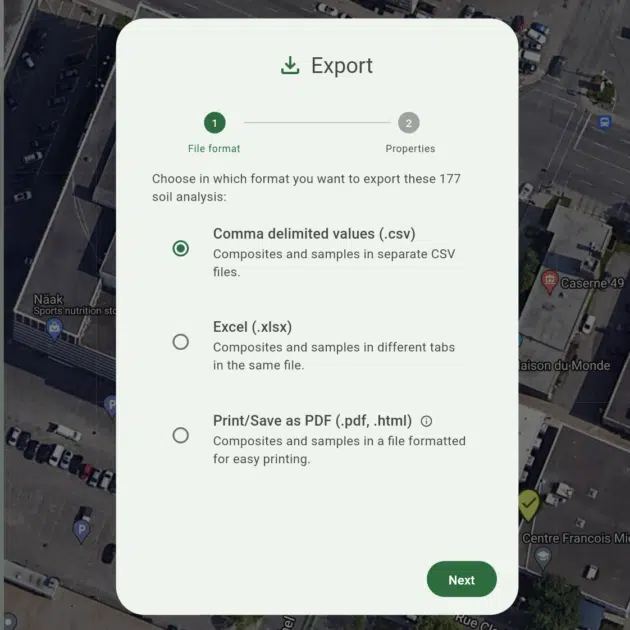
Choose the desired format. If you choose to export the data as a CSV, two separate files will download: one for composite data and one for individual samples. In the Excel format, data will be exported in a single file with composites and individual samples in two separate tabs.
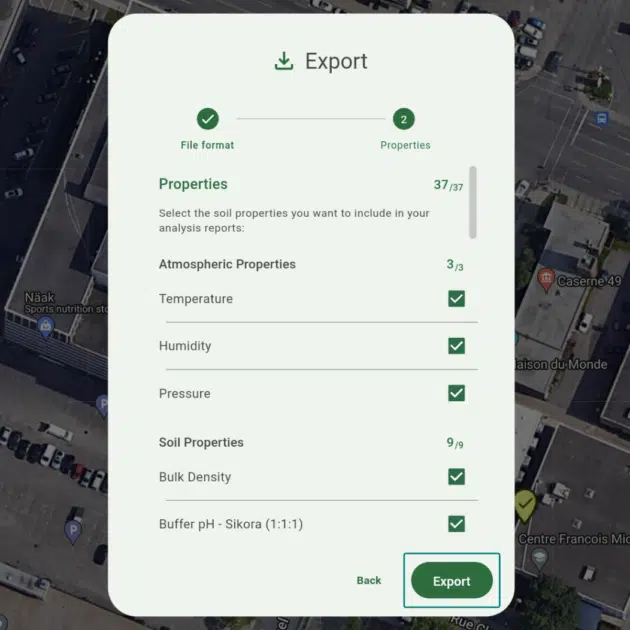
Once you have chosen the desired file format, ensure that all desired properties are selected. Finish by clicking the ‘Export’ button.
If you have any questions or issues when using the probe, we are here to help! Please contact our team at support@chrysalabs.com or +1 833-522-7645.